Preventing Rainwater from Running Down Your Hammock Suspension
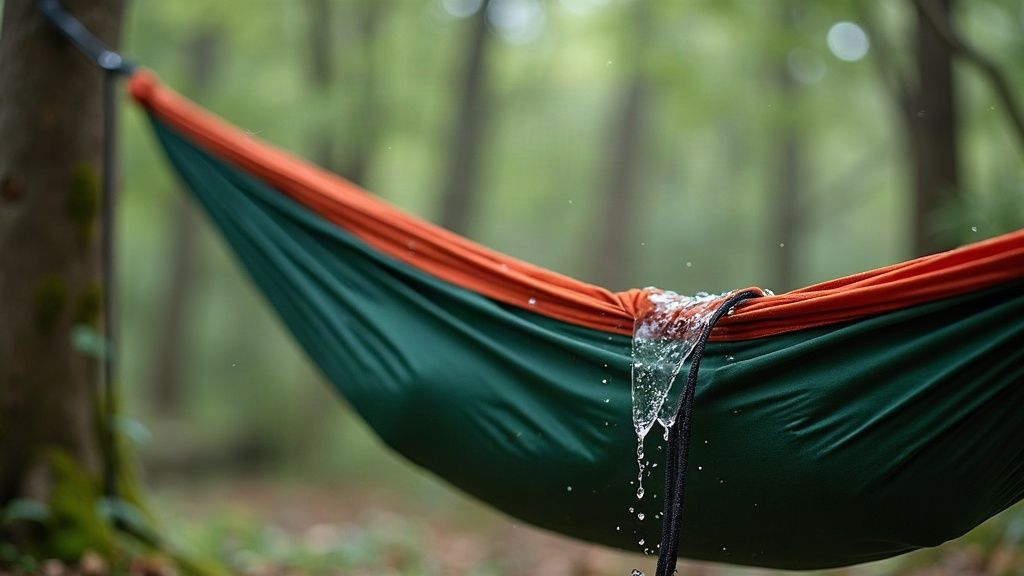
Why Your Hammock Gets Wet Even Under a Good Tarp
Rainwater doesn’t just land on your tarp and stay there. It also creeps down your suspension lines, follows the cord like a tiny river, and soaks your sleeping area from the inside out, which is maddening when you did everything “right” with your pitch. The fix costs almost nothing: a DIY drip line, a short piece of cord or cloth tied onto your suspension that forces water to let go and drip off before it ever reaches the hammock. Below I’ll walk through how water actually travels along cordage, where to put drip lines, which materials hold up, and how to tie them so they survive an actual storm instead of just a light drizzle.
Why Rain Runs Down Your Suspension in the First Place
Water clings to cord through plain old surface tension. When rain hits your ridgeline, tarp edges, or tree straps, gravity drags those droplets along to the lowest point of the line it can find. If that line runs straight into your hammock’s suspension (whisper lines, webbing straps, amsteel whoopee slings, whatever you’re using) the water has a clear, uninterrupted road right to your gear. A well-pitched tarp won’t stop this on its own, because the issue isn’t coverage. It’s capillary action along the cordage itself, something a tarp was never designed to address.
Signs you’ve got this problem:
- Damp patches on the hammock body near the tree straps, even though the tarp fully covers you
- Wet gathered-end or whoopee sling knots after a rainy night
- Water pooling inside structural ridgeline sleeves
What a Drip Line Actually Does
A drip line is just a small obstruction, usually a knot, a tied-on loop of cord, or a strip of fabric, that breaks up the smooth surface of your suspension line. Water collects at that spot until gravity finally wins over surface tension, and instead of continuing its journey along the cord, it falls straight to the ground.
It’s the same logic as a drip edge on a house gutter, keeping runoff off the siding. Same principle, just shrunk down to hammock scale.
Materials That Work Best
Nothing fancy required here. Good drip line materials include:
- Thin accessory cord (1.5–2mm), ties easily and adds basically zero weight to your pack
- Old shoelaces, surprisingly effective, and free if you’ve got a spare pair lying around
- Strips of bandana or microfiber cloth, which work well because fabric soaks up and holds more water before it finally drips, giving you extra buffer in a real downpour
- Pre-made rubber drip rings, sold by a few cottage hammock gear makers, though honestly a loop of cord does the same job
Skip anything slick, like bare paracord sheath on its own. That smooth nylon surface can let water slide right past a loosely tied knot without even slowing down.
Where to Tie Your Drip Lines
Placement beats material every time. Tie drip lines at these spots:
- On the tree straps or whoopee slings, a few inches out from the tree trunk, before the line starts angling down toward the hammock
- On the ridgeline, if it isn’t already tucked under a continuous tarp ridge
- At the lowest point of any tarp guyline that passes near your suspension
The whole point is to put the drip ahead of any downward slope toward your hammock body. Tree → drip line → hammock? You’re covered. Drip line placed after the lowest point of the sag? Water’s already gone past it, and the knot is just decoration at that stage.
How to Tie a Reliable Drip Line
The simplest method, no special skills needed:
- Cut a 4–6 inch piece of cord or a strip of cloth.
- Tie it around your suspension line with a basic overhand knot or a girth hitch, snug enough that it can’t slide around.
- Leave the tails hanging an inch or two, giving water a clean drop point instead of letting it wick back onto the main line.
- Do the same on both sides of your hammock, not just one.
For webbing straps specifically, a girth-hitched loop of cord outperforms a knot tied directly into the webbing, since webbing just doesn’t cinch down tight the way cord does.
Common Mistakes to Avoid
- Tying the drip line too close to the hammock. Leave at least 8–10 inches of clearance, otherwise wind can blow that dripping water right back onto your bed.
- Using cord that’s too slick. Run a quick test, if water slides past your knot visibly, swap to fabric or throw on a second wrap.
- Forgetting the ridgeline. Plenty of campers protect their tree straps religiously and then completely overlook that an exposed ridgeline between tarp and hammock is just as direct a path for water.
Testing Before You Trust It
Don’t wait for a 2 a.m. downpour in the backcountry to find out your setup doesn’t work. Test it at home first: hang your hammock under a garden hose or sprinkler for a few minutes and actually watch where the water goes. This tells you exactly which lines need a drip point, and whether your knots hold water the way you think they will.
Final Thoughts
A wet suspension line is one of the most overlooked causes of a miserable, soggy night in a hammock, and also one of the cheapest fixes you’ll ever make to your setup. A few inches of spare cord, tied in the right place, is often the only thing standing between waking up dry and waking up in a puddle. Build drip lines into your pitching routine right alongside your tarp setup, and rain stops being something you have to worry about.