Foraging and Processing Acorn Flour Without a Camp Stove
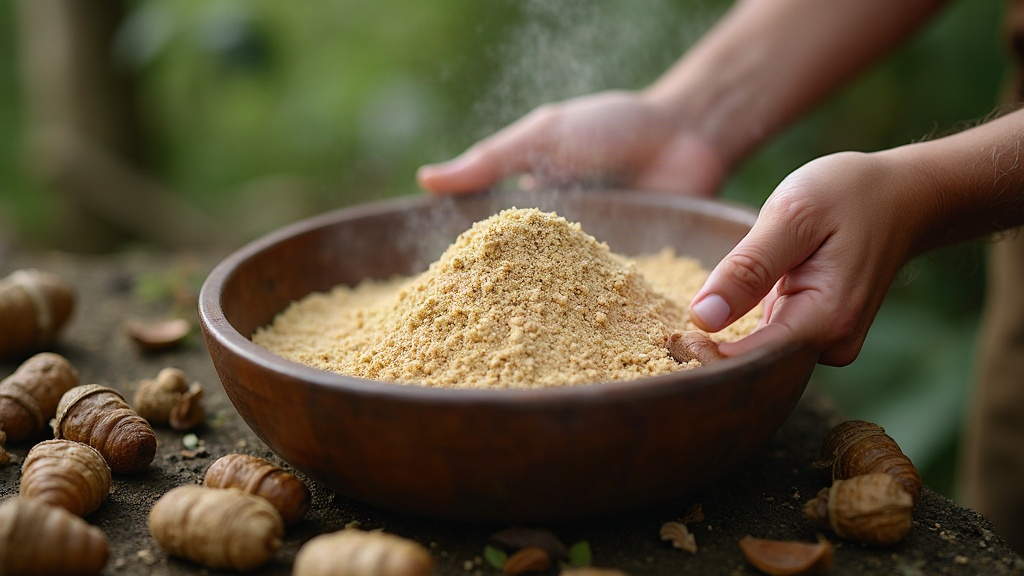
Oak trees hand foragers one of the densest calorie sources you’ll find in the wild. There’s a catch, though: raw acorns are loaded with tannic acid, and that stuff is bitter enough to make your mouth pucker, plus it’s mildly toxic if you eat it untreated. Most survival guides tell you to boil the acorns over a fire to strip the tannins out fast—whether that’s using a Dakota fire hole or camp stove. Fair enough, but here’s the thing: you can process acorn flour without ever lighting a fire, and honestly, the flour you end up with often bakes better than the boiled version. Using nothing but a nearby creek, some patience, and a cold-leaching approach, you can turn these unassuming nuts into a legitimate carb staple out in the bush.
Identifying and Foraging the Best Acorns
Not every acorn is worth your time, and if you’re skipping the stove, picking the right tree matters more than usual. Oaks split into two broad camps: white oaks and red oaks.
- White Oaks: Look for leaves with rounded lobes. These acorns mature in one growing season and carry noticeably less tannin. Skip the fire entirely and white oak acorns will still save you a couple of days of leaching compared to their red cousins.
- Red Oaks: Spot them by the pointed, bristle-tipped lobes on the leaves. Their acorns take two full years to mature and pack in a lot more tannin. Great nutrition, sure, but plan on a much longer soak.
When you’re out gathering in fall, check each nut by hand. A quick trick worth knowing: the float test. Toss your haul into a still pool, a bucket, or a slow bend in a stream. Good acorns sink right away. Anything that floats is probably hollow, dried out, or has a weevil larva living inside it. Toss the floaters, and toss anything with a pinhole in the shell too, that’s a sure sign of an insect exit wound.
Shelling and Grinding in the Wild
Before the tannins can go anywhere, you need to break these nuts down first. Tannic acid dissolves in water fine, but cold water only works if it’s got plenty of surface area to grab onto.
- Drying the Harvest: Got a day or two to spare? Leave the acorns out in the sun. The nutmeat shrinks a bit and pulls away from the shell, which makes cracking them noticeably easier.
- Shelling: Grab a smooth, heavy rock as your hammer and a flat stone as an anvil, then crack the shells gently. Pull off the hard shell completely, and don’t leave any of that thin papery skin behind either, it’s where a lot of the bitterness hides.
- Crushing the Nutmeat: Find a natural hollow in a hardwood log, or a big flat river stone you’ve cleaned off, and use it as a mortar. Pound the shelled nutmeat with a smaller rock until you’ve got a coarse meal. This step isn’t optional. Whole acorns, or even halved ones, just won’t leach right in cold water. You need that surface area.
Cold Leaching: Removing Tannins Without Heat
No stove, no boiling water, so cold leaching is your only path here. It’s slower than boiling, no question, but it actually keeps the starches intact inside the acorn meal. Those starches work almost like a natural gluten substitute, and that matters a lot if you’re planning to bake ash cakes or bush bread down the line.
The Stream Method
Camped next to a clean, fast-flowing stream? You’ve basically got a free, hands-off leaching machine. Load your crushed acorn meal into a tightly woven cloth, a bandana, a shemagh, even a spare t-shirt works. Tie it off into a snug bundle and weigh it down with rocks right in the current. The moving water does all the work, flushing tannins out on its own. Depending on the species, this runs anywhere from 3 to 7 days. Check it once a day, pinch a tiny bit out and taste it. Once the bitterness is completely gone, you’re done.
The Container Method
Stuck with still water, a bottle, or a dry bag instead of a stream? You can still make this work. Fill the container roughly a third of the way with acorn meal, then fill the rest with cold water. Shake it hard, let it settle. Within a few hours the water turns a dark, tea-brown color as the tannins pull out.
Every 12 to 24 hours, pour off that dark water carefully (try not to lose your meal in the process), and refill with fresh water. Keep repeating this daily swap until the water stays clear and a taste test comes back sweet and nutty instead of harsh.
Drying and Storing Your Flour
Wet acorn meal molds fast, faster than you’d think, so don’t let it sit around damp. Once leaching’s done, drying is the next non-negotiable step before you can call it flour.
Spread the wet meal out thin, on a clean tarp, a sun-warmed flat rock, or a wide piece of bark, and put it in direct sun. Stir it a few times through the day so it dries evenly. If the weather’s turned damp on you, you can dry it near a campfire’s heat instead, just watch it closely so it doesn’t scorch. Once it’s completely dry, run it through your grinding stones one more time to break it down into a fine, usable flour.
Conclusion
Making acorn flour without a stove really comes down to working with what’s around you instead of forcing a shortcut. Yes, cold leaching takes more patience than tossing acorns in a boiling pot. But the payoff is real: the flour turns out more nutritious, easier on the stomach, and honestly holds together better when you’re baking over hot coals. Get this one bushcraft skill down and you’ve unlocked a serious calorie source that’s just sitting there in the woods, no matter what’s in your pack.