Carving a Friction Fire Bow Drill Set from Damp Cottonwood
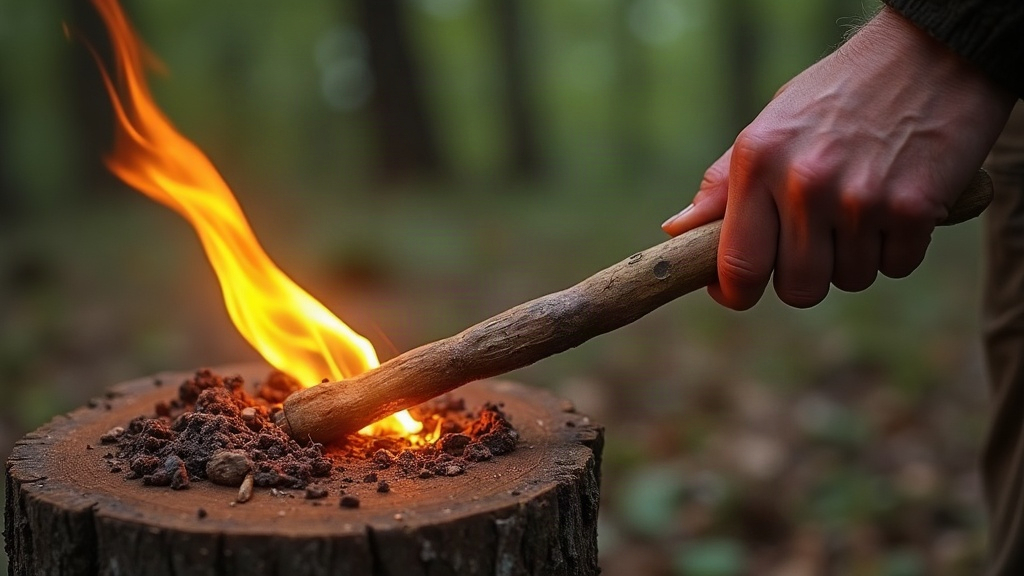
Carving a Bow Drill Set from Damp Cottonwood
Starting a fire with a bow drill is one of the oldest tricks in the survival book, but nature almost never hands you bone-dry materials right when you need them. Carving a friction fire bow drill set out of damp cottonwood is a different animal entirely. It tests your patience, your carving skills, and how well you actually understand wood grain and moisture. This guide walks through picking the right damp wood, shaping the four core pieces, and using a few field-drying tricks that let you coax an ember out of conditions—like working with waterlogged clay soil—that would stop most people cold.
Why Cottonwood Works
Eastern and Western Cottonwood (Populus deltoides and Populus fremontii) are soft, non-resinous hardwoods with a fibrous, almost spongy cell structure. Rub two pieces together under pressure and they break down into a fine, powdery dust that catches heat fast, which is exactly why bushcrafters reach for it again and again.
The catch? That same spongy structure soaks up water like, well, a sponge. Camp near a humid river bottom or get caught in a few days of rain, and the cottonwood around you is going to be wet through. Getting past that moisture is really the whole battle here.
Finding and Judging Wet Wood
When everything around you is soaked, sourcing good material becomes the make-or-break step. Skip anything lying on the muddy ground straight away, that wood is already rotting from the inside out, no matter how solid it looks.
- Check the canopy, not the ground: Look for dead branches still hung up in the trees, off the forest floor where they’ve had a fighting chance to stay drier.
- Snap test: Bend a branch. A dry, usable piece snaps with a clean, sharp crack. If it just bends and tears like wet cardboard, toss it.
- Cut into the heartwood: Bark soaked through? Doesn’t necessarily mean the wood’s done. Slice into the center of the branch with your knife. Nine times out of ten, the dense inner fibers stay dry even after a solid three-day downpour.
Carving the Four Pieces
Got your driest cottonwood in hand? Time to shape it into the set.
1. The Spindle
Look for a straight piece around 8 inches long, roughly as thick as your thumb (about 3/4 inch). Carve the bottom end to a blunt, rounded point, that’s what gives you good surface contact against the fireboard. The top gets a sharper, narrower point instead, so it spins with less drag against the bearing block.
2. The Hearth Board
Split a thicker chunk of cottonwood straight down its length to get at the inner heartwood. Work it down until it’s roughly half an inch thick, two inches wide, and about a foot long. Flatten the underside as much as you can. A stable, flat board is what keeps everything from wobbling under your foot once you start bowing in earnest.
3. The Bearing Block
Traditionally you’d want bone or a harder wood for this piece. Stuck with only cottonwood? Look for a dense knot, or grab a chunk of live, green wood instead. Carve a shallow divot in the center to seat the spindle’s top. Here’s the trick: the moisture still in that green wood actually works in your favor, lubricating the contact point so you don’t end up with a second, unwanted fire starting in your palm.
4. The Bow
Find a slightly curved, stiff branch about arm’s length. It doesn’t need to be cottonwood at all, any sturdy green branch works fine. Tie your cordage on tight, leaving just enough slack for one loop around the spindle.
Drying Cottonwood Out in the Field
No ember happens if the wood’s moisture content is too high, plain and simple. Water pulls heat away faster than friction can build it up. Since you’re stuck with damp cottonwood, you’ll need to dry out the contact points artificially before you even attempt to catch a coal.
- Use your own body heat: While you’re prepping tinder, tuck the carved spindle and hearth board inside your jacket, against your torso. Twenty or thirty minutes of that helps more than you’d think.
- Shave off the wet exterior: Whittle away any punky, damp outer wood until you hit the driest wood underneath.
- Friction-dry it: This is the method that actually saves the day out there. Set up your kit and start bowing before you cut the notch. Wear in an initial divot, then keep the spindle turning with steady, medium pressure. The friction heat literally boils the trapped moisture out of the fibers around it, turning it to steam. Keep at it until the dust you’re producing shifts from clumpy and dark to a light, fine, brown powder. That color change is your green light.
Producing the Ember
Once your contact points are friction-dried, cut a clean “V” notch into the side of the hearth board, slicing right into the center of that blackened divot you wore in. Slide something underneath to catch the falling dust, a dry leaf, bark, or even a flat rock will do.
- Warm it up: Start with long, smooth, unhurried strokes to build up a fresh pile of hot dust inside the notch.
- Push for ignition: Once dust is spilling out of the notch and smoke is rising steadily, speed up and lean into the bearing block with real downward pressure.
- Watch for the coal: Thick, opaque smoke still curling up from the dust pile even after you’ve stopped bowing? That’s your ember.
Tap the hearth board gently to knock the coal loose, transfer it into your waiting tinder bundle, and blow it steady until it catches.
Final Thoughts
Friction fire is hard work under the best conditions. Doing it with soaked cottonwood pushes it into genuine skill territory. But pick your material carefully, carve down to the dry heartwood, and use friction itself to bake out what moisture remains, and what started as a soggy, frustrating mess turns into one of the most satisfying wins you’ll get in the woods.