Building a Quinzee Snow Shelter: Collapse Risks & Ventilation Fixes
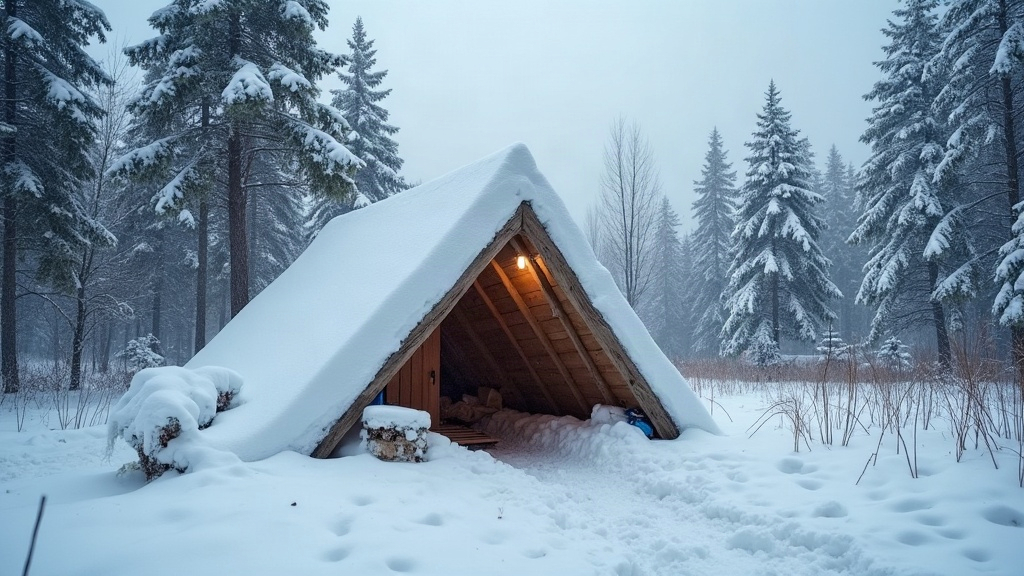
A quinzee snow shelter ranks among the warmest, most dependable improvised winter shelters you can build, and yet it’s also one of the most misunderstood. Most failures, whether that’s a collapse or a genuine carbon monoxide scare, trace back to two culprits: rushing the sintering process and botching the ventilation. This guide walks through why quinzees actually fail and how to fix both problems before you crawl inside for the night.
What Is a Quinzee, Exactly?
A quinzee is a hollowed-out mound of piled, settled snow. That’s what sets it apart from an igloo (built from cut blocks) or a snow cave (dug straight into a drift). You pile loose snow into a dome shape, give it time to “sinter” (bond together), then hollow it out from the inside once it’s firm. Get it right and interior temperatures can run 20-40°F warmer than the outside air, no fire required.
Common Collapse Risks
1. Not Letting the Snow Sinter Long Enough
This is the number one cause of collapse, by a wide margin. When you pile snow, the individual ice crystals need time to bond into a solid, self-supporting mass through a process called sintering. Skip this step and you’re basically digging into a loose pile that wants to cave in on you.
- Fix: Give the pile at least 1-2 hours before you start digging in cold conditions, and stretch that to 2-4 hours if the snow is dry and powdery. Test it by pushing a stick into the pile. If it meets firm, uniform resistance all the way through, you’re good to go.
2. Walls Too Thin
Dig too fast, or just misjudge the thickness as you go, and you’ll leave weak spots that sag or cave in, usually right near the ceiling where it matters most.
- Fix: Push 12-18 inch sticks radially into the pile before you start hollowing. Dig until you hit the base of each stick, no further. This alone guarantees consistent wall thickness throughout, typically 12-18 inches for both walls and ceiling.
3. Digging the Doorway Too Low or Too Wide
A wide, low entrance strips away structural support exactly where the mound needs it most: right at the base.
- Fix: Keep the entrance narrow, just wide enough for one person to squeeze through shoulder-width, and angle it slightly upward into a sleeping platform that sits higher than the entrance tunnel. This creates the “cold trap” design, trapping warm air inside and taking pressure off the entry arch.
4. Warm Temperatures or Direct Sun Exposure
Quinzees are surprisingly fragile during freeze-thaw cycles. A shelter that goes up fine in 20°F weather can weaken fast if the next afternoon brings 35°F and direct sun.
- Fix: Build in shaded, sheltered spots away from afternoon sun. Check the ceiling daily for dripping, glazing, or soft spots, and skip an overnight stay if you’re in the middle of a rapid warm-up.
5. Hollowing Out Too Aggressively
Carving out too much snow at once, especially near the top, throws off the load distribution and invites a collapse.
- Fix: Hollow from the inside out into a smooth dome shape, never a flat ceiling. Domes spread weight evenly across the whole structure; flat or angular ceilings concentrate stress at specific points and crack.
Ventilation: The Overlooked Survival Issue
Every winter, campers get sick, or worse, from poor quinzee ventilation. Snow shelters seal up tight enough to trap carbon monoxide from stoves, and they’ll even cut into your fresh oxygen supply overnight just from your own breathing.
The Two Ventilation Holes You Need
- A roof vent, made with a ski pole or stick pushed straight up through the ceiling, angled slightly so it doesn’t drip on you, roughly 1-2 inches in diameter.
- A secondary side vent, positioned near your sleeping level, so you get cross-airflow instead of relying on one static hole.
Ventilation Mistakes to Avoid
- Poking just one hole and forgetting about it. Snow drifts and can reseal a vent overnight without you noticing. Check it before sleep, and again if you wake up.
- Firing up a stove or flame inside without testing the vent first. Even a small candle lantern produces CO. A sealed quinzee with a stove running is genuinely dangerous territory.
- Sealing the entrance completely. Leave a small gap, or block it loosely with a pack rather than compacted snow. You need that passive air exchange point.
- Skipping the insulated sleeping pad. Not a ventilation issue on its face, but cold seeping up from the snow floor is exactly what pushes people to light fires or seal up tighter than they should, and that’s how air quality goes downhill.
Quick Ventilation Checklist Before Sleeping
- ✅ Roof vent open and checked
- ✅ Side vent added for airflow
- ✅ Entrance not fully sealed
- ✅ No open flame unless vents are confirmed clear
- ✅ Carry a small carbon monoxide detector if using any stove
Building Timeline That Actually Works
- Pile snow into a mound roughly 7-8 feet in diameter and 6+ feet tall (remember it’ll settle some).
- Push 12-18 inch sticks all over the surface as depth guides.
- Let it sinter for at least 1-4 hours.
- Dig the entrance tunnel first, angled upward into the sleeping chamber.
- Hollow the dome out evenly, stopping the moment you hit each stick.
- Add the roof and side ventilation holes right away, don’t wait until you’re settled in.
- Smooth the interior ceiling to avoid drip points, then let everything firm up before you actually use it.
Final Thoughts
A well-built quinzee is genuinely one of the safest, warmest shelters you’ll find in deep snow, but only if you respect the sintering time, keep your walls a consistent thickness, and never cut corners on ventilation. Treat structural integrity and airflow as the two non-negotiables, and a quinzee will keep you safe, and honestly pretty comfortable, through even a rough winter night.