Baking Perfect Bannock Bread in a Thin Titanium Mess Kit
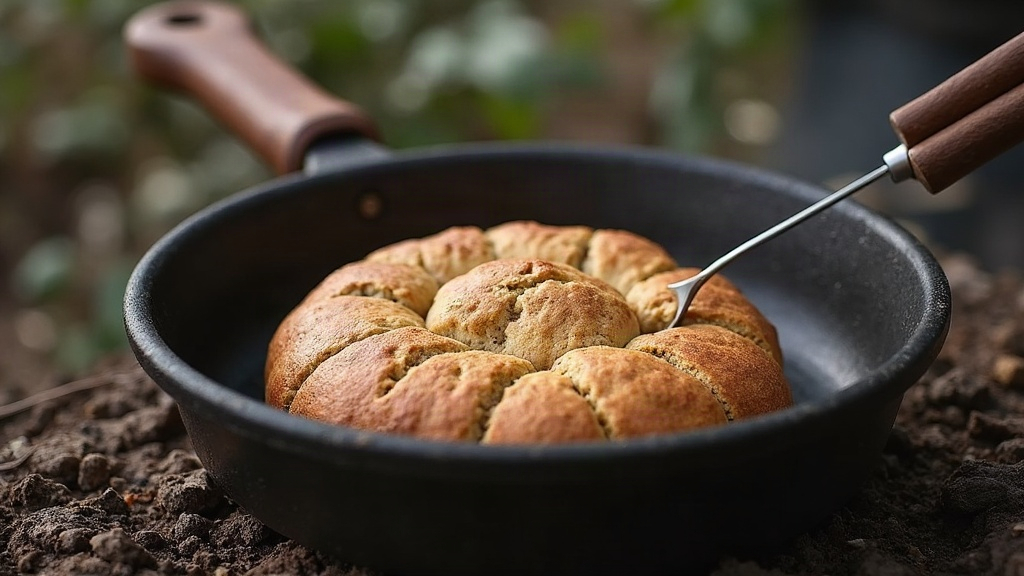
Baking Bannock in a Titanium Mess Kit Without Burning It
Yes, you can bake bannock in a thin titanium mess kit without turning the bottom into charcoal. The trick comes down to three things: indirect heat, the right dough consistency, and a fire or stove setup that never lets the pan sit over a concentrated flame. Titanium heats up fast and unevenly, which is exactly why so many backpackers pull out a loaf with a blackened crust and a gooey, half-raw center. Here’s how to avoid that fate.
Why Titanium Burns Bannock So Easily
Titanium mess kits are a backpacker favorite because they’re absurdly light, but that thin-walled construction is also their downfall when it comes to baking.
- Low thermal mass. Heat spikes almost instantly under a flame, and there’s nothing in the metal to absorb or buffer that spike.
- Poor heat distribution. Whatever spot sits directly above the burner or flame gets scorched, while the rest of the pan barely warms up.
- No insulating layer, unlike cast iron or thicker steel, which spreads heat out gradually instead of dumping it in one place.
Put it all together and you get a bottom crust that chars in a couple of minutes while the inside stays doughy and undercooked.
The Fix: Indirect Heat Is Non-Negotiable
Here’s the one rule that matters more than any other: never set the pan directly over an open flame or a stove burner cranked to full blast. Instead, try one of these approaches.
1. The “Rock and Ember” Method (Campfire)
- Let the fire die down to glowing coals. No active flames licking at the pan.
- Rake a thin bed of coals to the side (not directly beneath the pan) or set a flat rock down as a buffer.
- Prop the mess kit up on a few small stones so there’s an air gap between it and the heat source.
2. The “Low and Slow Stove” Method
- Dial the canister or liquid-fuel stove down to its lowest simmer setting. Lower than you think you need.
- Got a simmer ring or heat diffuser attachment? Use it. It’s genuinely the single best upgrade you can make for titanium baking.
- No diffuser on hand? Fold a piece of foil into 3-4 layers and slide it between the flame and the pan. Works surprisingly well in a pinch.
3. Add a Buffer Layer
Some hikers carry a thin aluminum windscreen, or just a flat stone that fits inside the fire ring. Either one, placed between flame and pot, soaks up and spreads the heat before it ever reaches the dough.
Getting the Dough Ratio Right
Dough that’s too wet sticks and scorches. Dough that’s too thick takes forever to cook through, which means the outside burns long before the center firms up. Stick to a simple backcountry ratio:
- 1 cup flour (all-purpose or a whole wheat blend)
- 1 tsp baking powder
- A pinch of salt
- 1 tbsp oil or butter (this adds a bit of a protective fat barrier against the pan)
- ⅓ to ½ cup water, added slowly, until the dough is soft but not tacky
Pat the dough into a disc no thicker than ¾ inch. Thinner discs cook faster and more evenly. Go much thicker than that and you’re basically guaranteeing a burnt shell around a raw middle.
Step-by-Step Cooking Process
- Preheat gently. Warm the empty pan over low, indirect heat for 1-2 minutes. If it starts smoking, you’ve gone too far.
- Oil the pan lightly. A thin film stops sticking without tipping over into a fry.
- Set the dough disc in the center of the pan.
- Cover it with a lid or an upside-down pot. This traps heat and bakes the top, basically turning your pan into a makeshift oven.
- Rotate the pan every 2-3 minutes. With titanium, this step isn’t optional, it’s what keeps one hot spot from torching the bottom while you’re not looking.
- Flip around the 6-8 minute mark, once the underside has turned golden (not dark brown, that’s too late).
- Test for doneness with a stick or knife tip. It should come out clean. Total cook time usually lands somewhere around 12-15 minutes, depending on your heat source.
Common Mistakes to Avoid
- Turning the stove up to “speed things along.” This almost always ends in a burnt bottom and a half-raw top.
- Skipping the lid. Without trapped heat up top, you’ll end up overcooking the bottom just to get the inside to set.
- Overdoing the oil. Too much and you’re frying in spots instead of baking evenly.
- Forgetting to rotate. Even 90 seconds parked in one position can scorch titanium. It really is that sensitive.
Bonus Tip: Pre-Toast a Flour Layer
Before you lay the dough down, dust a thin layer of flour on the pan and let it toast lightly. It builds a subtle non-stick barrier and cuts down on direct-contact scorching. A fair number of bushcraft cooks swear by this one small trick.
Conclusion
Baking bannock in a titanium mess kit isn’t about beating the material into submission, it’s about working around its quirks. Keep the heat indirect, keep the dough thin, and rotate the pan like you mean it, and you’ll walk away with a golden, fully-cooked loaf instead of a charred hockey puck. Once you’ve dialed in your stove’s simmer setting, or gotten comfortable with the coal-and-rock trick over an open fire, good backcountry bannock stops being a gamble and starts being routine.