Removing Embedded Deer Ticks in Remote Brush: Full Guide
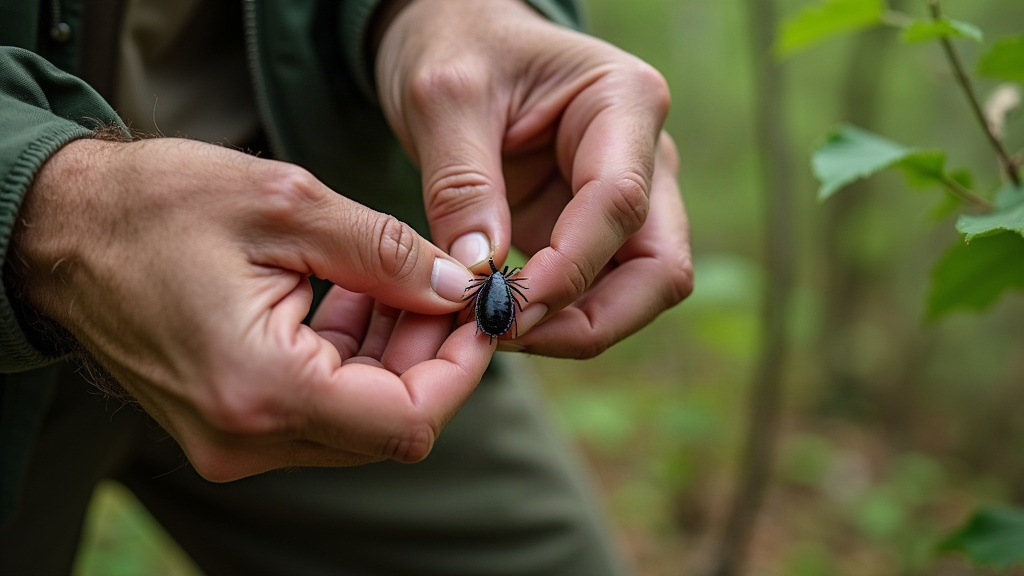
Finding a deer tick burrowed into your skin, miles from the trailhead, is a gut-check moment. Do you panic, or do you handle it? The good news is that removing an embedded deer tick in the backcountry is a doable task with basic gear, a steady hand, and the right technique. Done correctly, it dramatically cuts your risk of Lyme disease, anaplasmosis, and other tick-borne illnesses. The whole game comes down to one thing: get the entire tick out, mouthparts and all, without twisting, crushing, or leaving the head buried under your skin.
Why Leaving the Head Behind Is a Real Risk
Deer ticks (Ixodes scapularis) don’t bite with jaws. They anchor themselves using a barbed structure called a hypostome, which works almost like a tiny harpoon. Yank, twist, or squeeze the body and those barbed mouthparts can shear clean off, staying lodged in your skin. That can mean local irritation, infection, or a stubborn granuloma that lingers for weeks. There’s a nastier risk too: squeezing the tick’s body can push infected fluids back into the bite wound, raising your odds of catching whatever the tick is carrying. Out in the backcountry, far from a clinic, getting this right on the first try matters a lot more than it would at home.
What You Actually Need
Before you touch the tick, dig through your pack for these:
- Fine-tipped tweezers (not the blunt eyebrow kind) — this is the single most important tool you can carry
- A dedicated tick removal tool (Tick Key, Tick Twister, or similar) if it’s already in your kit
- Alcohol wipes or hand sanitizer, for both your hands and the tool
- A small mirror or headlamp if the bite landed somewhere you can’t easily see
- A sealed container or a strip of tape to save the tick for later identification
Caught without any of this? Improvise, but carefully. A clean knife edge or a sharpened stick tip can work in a pinch. Still, nothing beats fine-tipped tweezers.
Step-by-Step Removal Technique
- Clean your tools and hands. Wipe down the tweezers and the bite area with alcohol if you have it.
- Grasp as close to the skin as you can. Pinch the mouthparts right at the point of entry, not the swollen body above it.
- Pull straight up, slow and steady. No twisting, no jerking, no side-to-side rocking. Patience wins here. A clean, even pull lets the hypostome release on its own.
- Check the bite site. Look for a tiny dark fragment that might indicate leftover mouthparts. If something’s still there, lift it out gently with clean tweezers, the same way you’d handle a splinter. Don’t go digging around aggressively.
- Disinfect well. Alcohol, iodine, or soap and water, whatever you’ve got, once it’s available.
- Save the tick. Tape it to a card or seal it in a bag with the date and location written down. If symptoms show up later, this detail can matter a great deal.
If the Head Won’t Come Out
Sometimes a microscopic mouthpart fragment stays put even after a textbook-clean pull. It’s less alarming than most people think. Your skin usually works it out on its own over a few days, the same way it handles a splinter. Out on the trail:
- Resist the urge to dig a crater trying to chase down a speck you can barely see. You’ll do more tissue damage than the fragment ever would.
- Clean the area, cover it, and keep an eye out for redness or swelling.
- Once you’re back in town, a doctor can remove a stubborn fragment in about thirty seconds if it hasn’t resolved on its own.
What NOT to Do
Folk remedies stick around because they’re catchy, not because they work.
- Skip the petroleum jelly, lit matches, and nail polish. Trying to “suffocate” the tick actually raises your infection risk, because it can make the tick regurgitate into the wound.
- No twisting, not even with a specialized tool. Straight, steady traction, every time.
- Never crush the tick between your fingers. Infected fluid can get in through a cut on your hand or, worse, your eyes if you touch your face afterward.
Watch for These Symptoms After the Hike
Keep an eye on the bite site and how you’re feeling overall for the next 30 days:
- A spreading red rash, especially the classic bullseye shape (though plenty of Lyme cases never show one)
- Fever, chills, fatigue, aching joints or muscles
- Headache or a stiff neck
If any of this shows up, get to a doctor and tell them about the tick, roughly where it bit you, and how long it was likely attached.
Prevention for Future Trips
- Treat clothes and gear with permethrin before you head into brushy terrain.
- Tuck your pants into your socks and stick to light-colored clothing, it makes ticks far easier to spot before they latch on.
- Run a full-body tick check every evening during tick season. Don’t skip the scalp, armpits, groin, or the backs of your knees.
Final Thoughts
Pulling an embedded deer tick in the backcountry really just comes down to patience: clean tools, a firm grip close to the skin, and a slow, straight pull. Skip the folklore, don’t lose sleep over a speck-sized fragment left behind, and disinfect as soon as you reasonably can. A calm, correct removal out in the field is usually all it takes to turn a stressful trail moment into nothing more than a story you tell later.